Audi A6 Typ 4G: Gears, Shafts
Input Shaft
Input Shaft Ball Bearing, Replacing
- The transmission is removed.
 Note
Note
All assembly work and tightening specifications are outlined
in the "S tronic Transmission" repair manual.
Description of the procedure, refer to
→ S tronic Transmission Internal Components; Rep. Gr.35; Input
Shaft.
Input Shaft Seal, Replacing
- The transmission is removed.
Description of the procedure, refer to
→ S tronic Transmission Internal Components; Rep. Gr.35; Input
Shaft; Input Shaft Seal, Replacing.
Special Tools
Special tools and workshop equipment
required
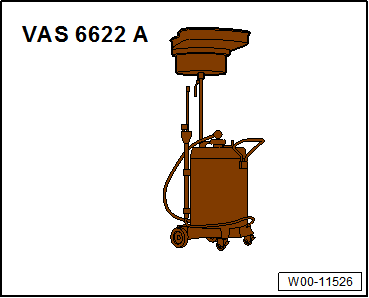
- Used Oil Collection and Extraction Unit -SMN372500-
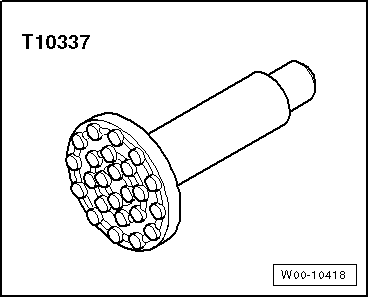
- Engine/Gearbox Jack - Gearbox Support -T10337-
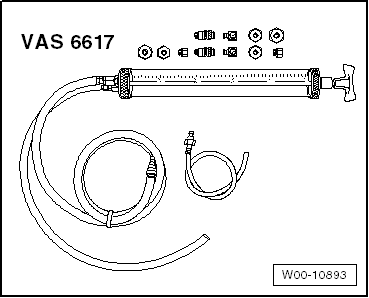
- Pressurized Gearbox Oil Filler Kit -VAS6617-
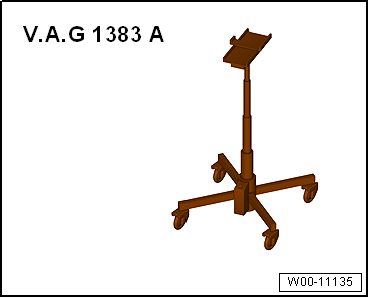
- Engine and Gearbox Jack -VAS6931-
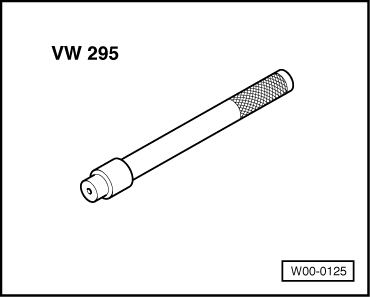
- Bearing/Bushing Installer - Multiple Use -VW295-
READ NEXT:
Overview - Final Drive
1 - Flywheel
Removing and installing, refer to
→ S tronic Transmission Internal Components; Rep. Gr.39; Seals; Left
Seal, Replacing
2 -&nbs
Transmission Fluid Level, Checking
Special tools and workshop equipment
required
Pressurized Gearbox Oil Filler Kit -VAS6617-
Used Oil Collection and Extraction Unit -SMN372500-
Protective eyewea
SEE MORE:
Removing
- Remove the front door trim panel. Refer to
→ Body Interior; Rep. Gr.70; Front Door Trim Panels; Front Door
Trim Panel, Removing and Installing.
- Disconnect the connector -1-.
- Open the clip -2- and remove
the trim -3- with the switch from
the door trim
Applies to: vehicles with selective catalytic reduction
Closing the filler neck
Turn the cap on the filler neck to the right with
the wheel wrench until the cap clicks into place.
This tightens the cap to the specification.
Then press on the left side of the tank door until
it latches.
After


