Audi A6 Typ 4G (2011–2018) Workshop Manual / Body / Body Exterior / Front Doors, Central Locking System / Overview - Door
Audi A6 Typ 4G: Overview - Door
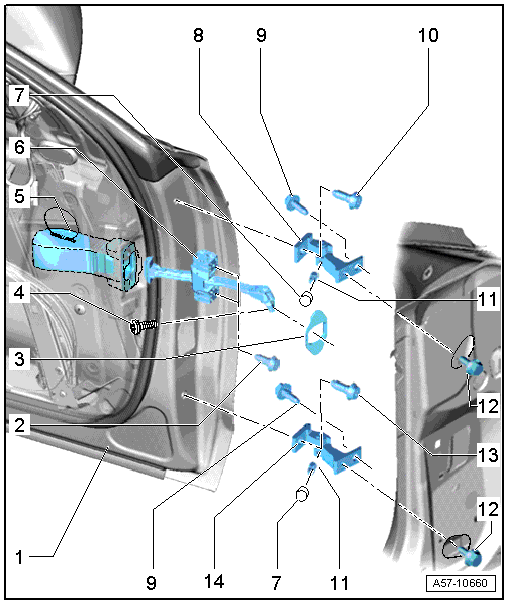
1 - Front Door
2 - Bolt
- 8 Nm
3 - Seal
- For the door arrester
4 - Bolt
- 33 Nm
5 - Cap
- For the door arrester
6 - Door Arrester
- Removing and installing. Refer to → Chapter "Door Arrester, Removing and Installing".
7 - Cap
- Place on the stud bolt
8 - Upper Door Hinge
9 - Bolt
- 34 Nm
10 - Bolt
 Note
Note
- The bolt is a fitting bolt so it is generally not necessary to adjust the door using it.
- If it is necessary to make an adjustment using these bolts, the bolt can be replaced with one of the same length and strength category.
- 34 Nm
11 - Stud Bolt
- 23 Nm
12 -
13 - Bolt
- 34 Nm
14 - Bolt
- 34 Nm
15 - Lower Door Hinge
Overview - Door Seals
Overview - Inner Door Seals
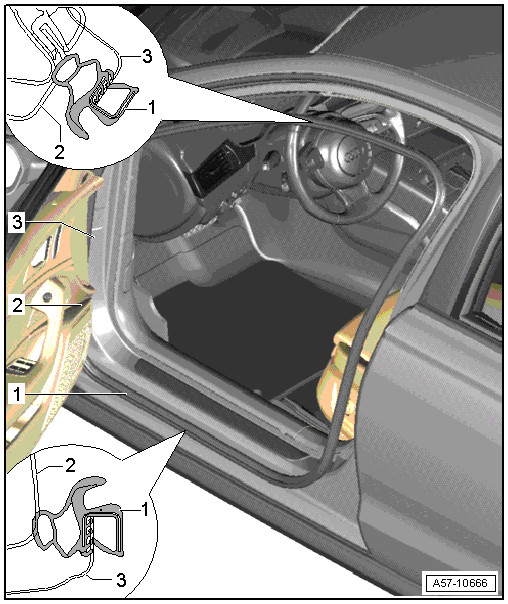
1 - Inner Door Seal
- Removing and installing. Refer to → Chapter "Inner Door Seal, Removing and Installing".
2 - Door Trim Panel
3 - Body Flange
Overview - Exterior Door Seals
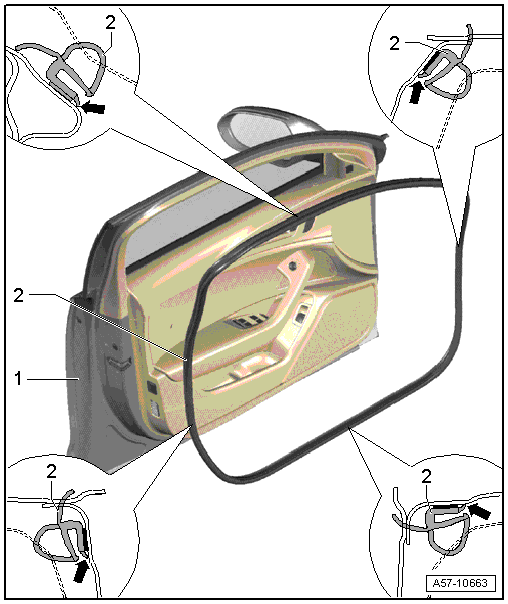
1 - Front Door
2 - Door Seal
- Removing and installing. Refer to → Chapter "Outer Door Seal, Removing and Installing".

